Airbag Diagnosis and Repair
When the airbag warning light comes on, professional diagnosis and repair is usually required to restore functionality. Even if you consider yourself a competent do-it-yourselfer, airbag issues are best left to the professionals. Here are the typical steps a technician will perform:
1) Check for diagnostic trouble codes:
The first step a technician will take is to connect an OBD2 scanner to access the airbag control module and retrieve diagnostic trouble codes that indicate the specific problem detected. The codes provide information about sensor errors, communication errors, or component issues.
If you have a diagnostic tool, you can get an idea of the expected repair costs in the future.
2) Check Components and Cables
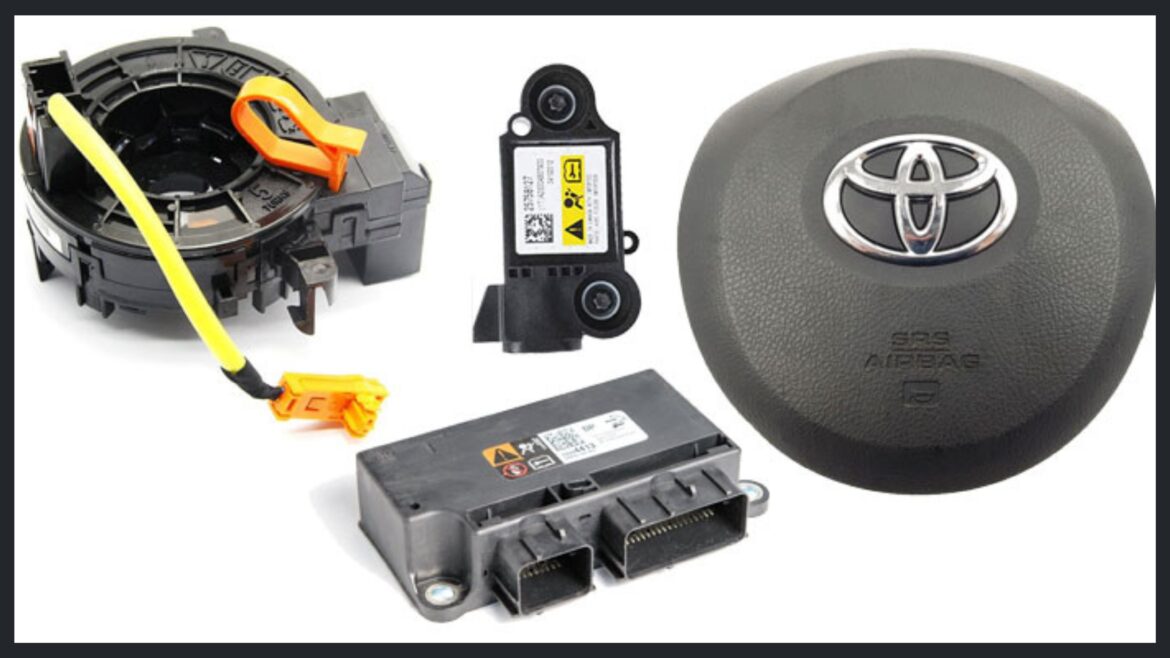
After the code indicates a possible cause, the cables, control module connections, sensors, and associated components are visually inspected. The objective is to check for visible damage, wear, and identify any potential issues that may be causing the problem.
3) Test System
Advanced testing procedures allow for a final check if a particular sensor, seat track position detector, or internal control module electronics has failed and needs replacing. This helps identify which parts need repair or replacement.
4) Replace Faulty Parts
After the final test, any airbag electronics that are damaged, non-communicating, or defective are replaced, and the system is retested to ensure proper functioning. Only manufacturer approved parts may be used for repairs.

