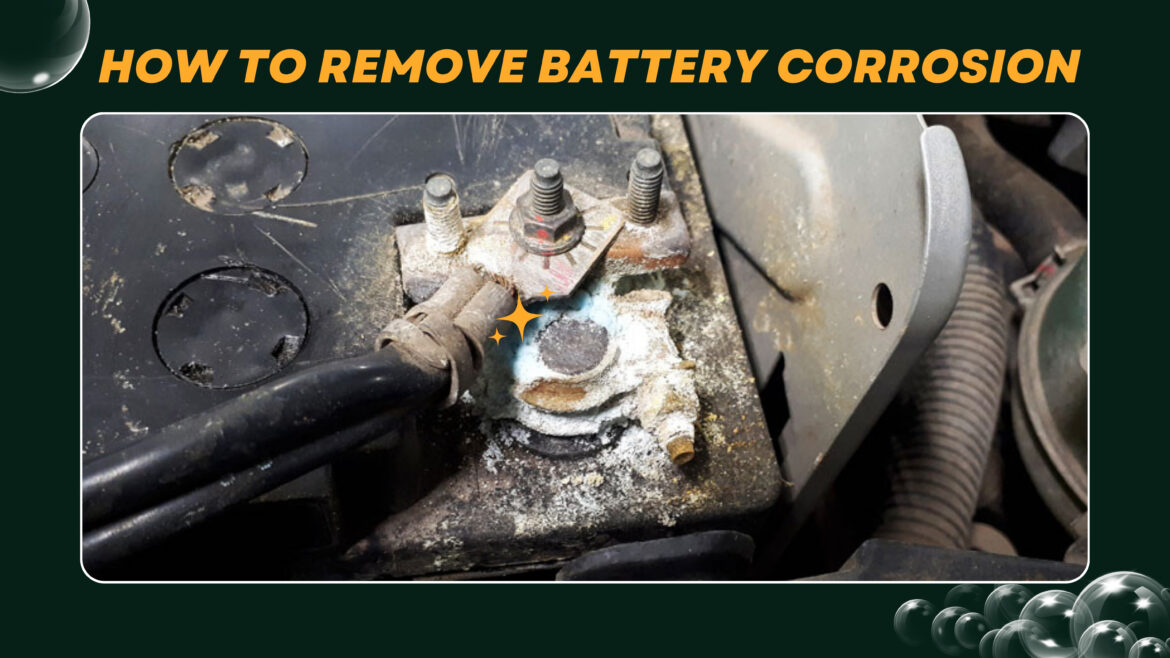
How to Remove Car Battery Corrosion (5 Steps)
Dealing with battery corrosion can be hazardous due to the highly corrosive nature of battery acid, which can cause chemical burns. Therefore, it’s crucial to protect yourself by wearing gloves and eye protection when cleaning the battery terminals.
To effectively clean the battery terminals, you will need water, baking soda, and a cleaning agent such as a battery terminal cleaner. Baking soda, being a base, helps neutralize the battery acid during the cleaning process. You should also have a rag, shop towels, or paper towels on hand to wipe off and dry the cleaning solution.
Consider investing in a battery terminal cleaner for a more efficient cleaning process. This product is affordable, typically costing less than $10. Alternatively, a wire brush or sandpaper can also be used to clean the terminals.
To prevent future corrosion, applying a battery terminal protector is recommended. While some opt for dielectric grease or petroleum jelly, a battery terminal protector is specifically designed for this purpose.
1) Disconnect and Remove the Battery
To begin, start by disconnecting both leads from the battery, starting with the ground terminal, which is usually the negative terminal. The battery cables typically require a socket size ranging between 8 mm to 13 mm, which may vary depending on the vehicle model.
After disconnecting the leads, remove the battery from its place to create additional space. This step will facilitate the identification and cleaning of any residual corrosion that may have leaked from the battery.
Exercise caution when lifting the battery, as many batteries weigh around 40 lbs and are often located in a difficult-to-reach spot in the engine bay. If needed, enlist the help of a friend to assist you in lifting the battery.
2) Rinse the Terminals
Prepare a solution of baking soda and water to rinse the terminals and eliminate as much corrosion as possible. While this step will remove some of the acid, you may need to use a tool to scrape off the remaining residue.
Step 3: Clean the Terminals
Start by scrubbing the metal terminals and battery cables using a wire brush or battery terminal cleaner until they are shiny. This process will ensure a good contact between the battery posts and the cables.
Step 4: Dry the Terminals
After removing all corrosion, dry the surfaces thoroughly using a rag, paper towel, or shop towel. It’s important to ensure there is no residual moisture left on the terminals or cables.
Step 5: Reinstall the Battery
Once the terminals are clean and dry, reinstall the battery by connecting the positive cable first, followed by the negative cable. If you choose to use a battery terminal protector, apply it only after the battery cables are reconnected.
Lead Acid Battery Maintenance
Lead acid batteries, being traditional and not sealed, require regular maintenance. Beneath the caps on top of the battery lies the electrolyte solution. Over time, the water in this solution may evaporate as hydrogen and oxygen vent from the battery.
If you observe that the water level is low upon removing the caps, it is advisable to add distilled water until the level is full. The ideal water level is about half an inch below the fill well. Verify that the new water level enables the cap to be reinstalled without causing any electrolyte to spill out.
It is essential to top off the battery only when it is fully charged. Additionally, ensure to wear gloves and eye protection while carrying out battery maintenance. These simple and crucial steps are effective ways to self-maintain your battery, saving you from the expense of a replacement.

